
NATURAL LIGHT PRESET PACKAGE


NATURAL LIGHT PRESET PACKAGE
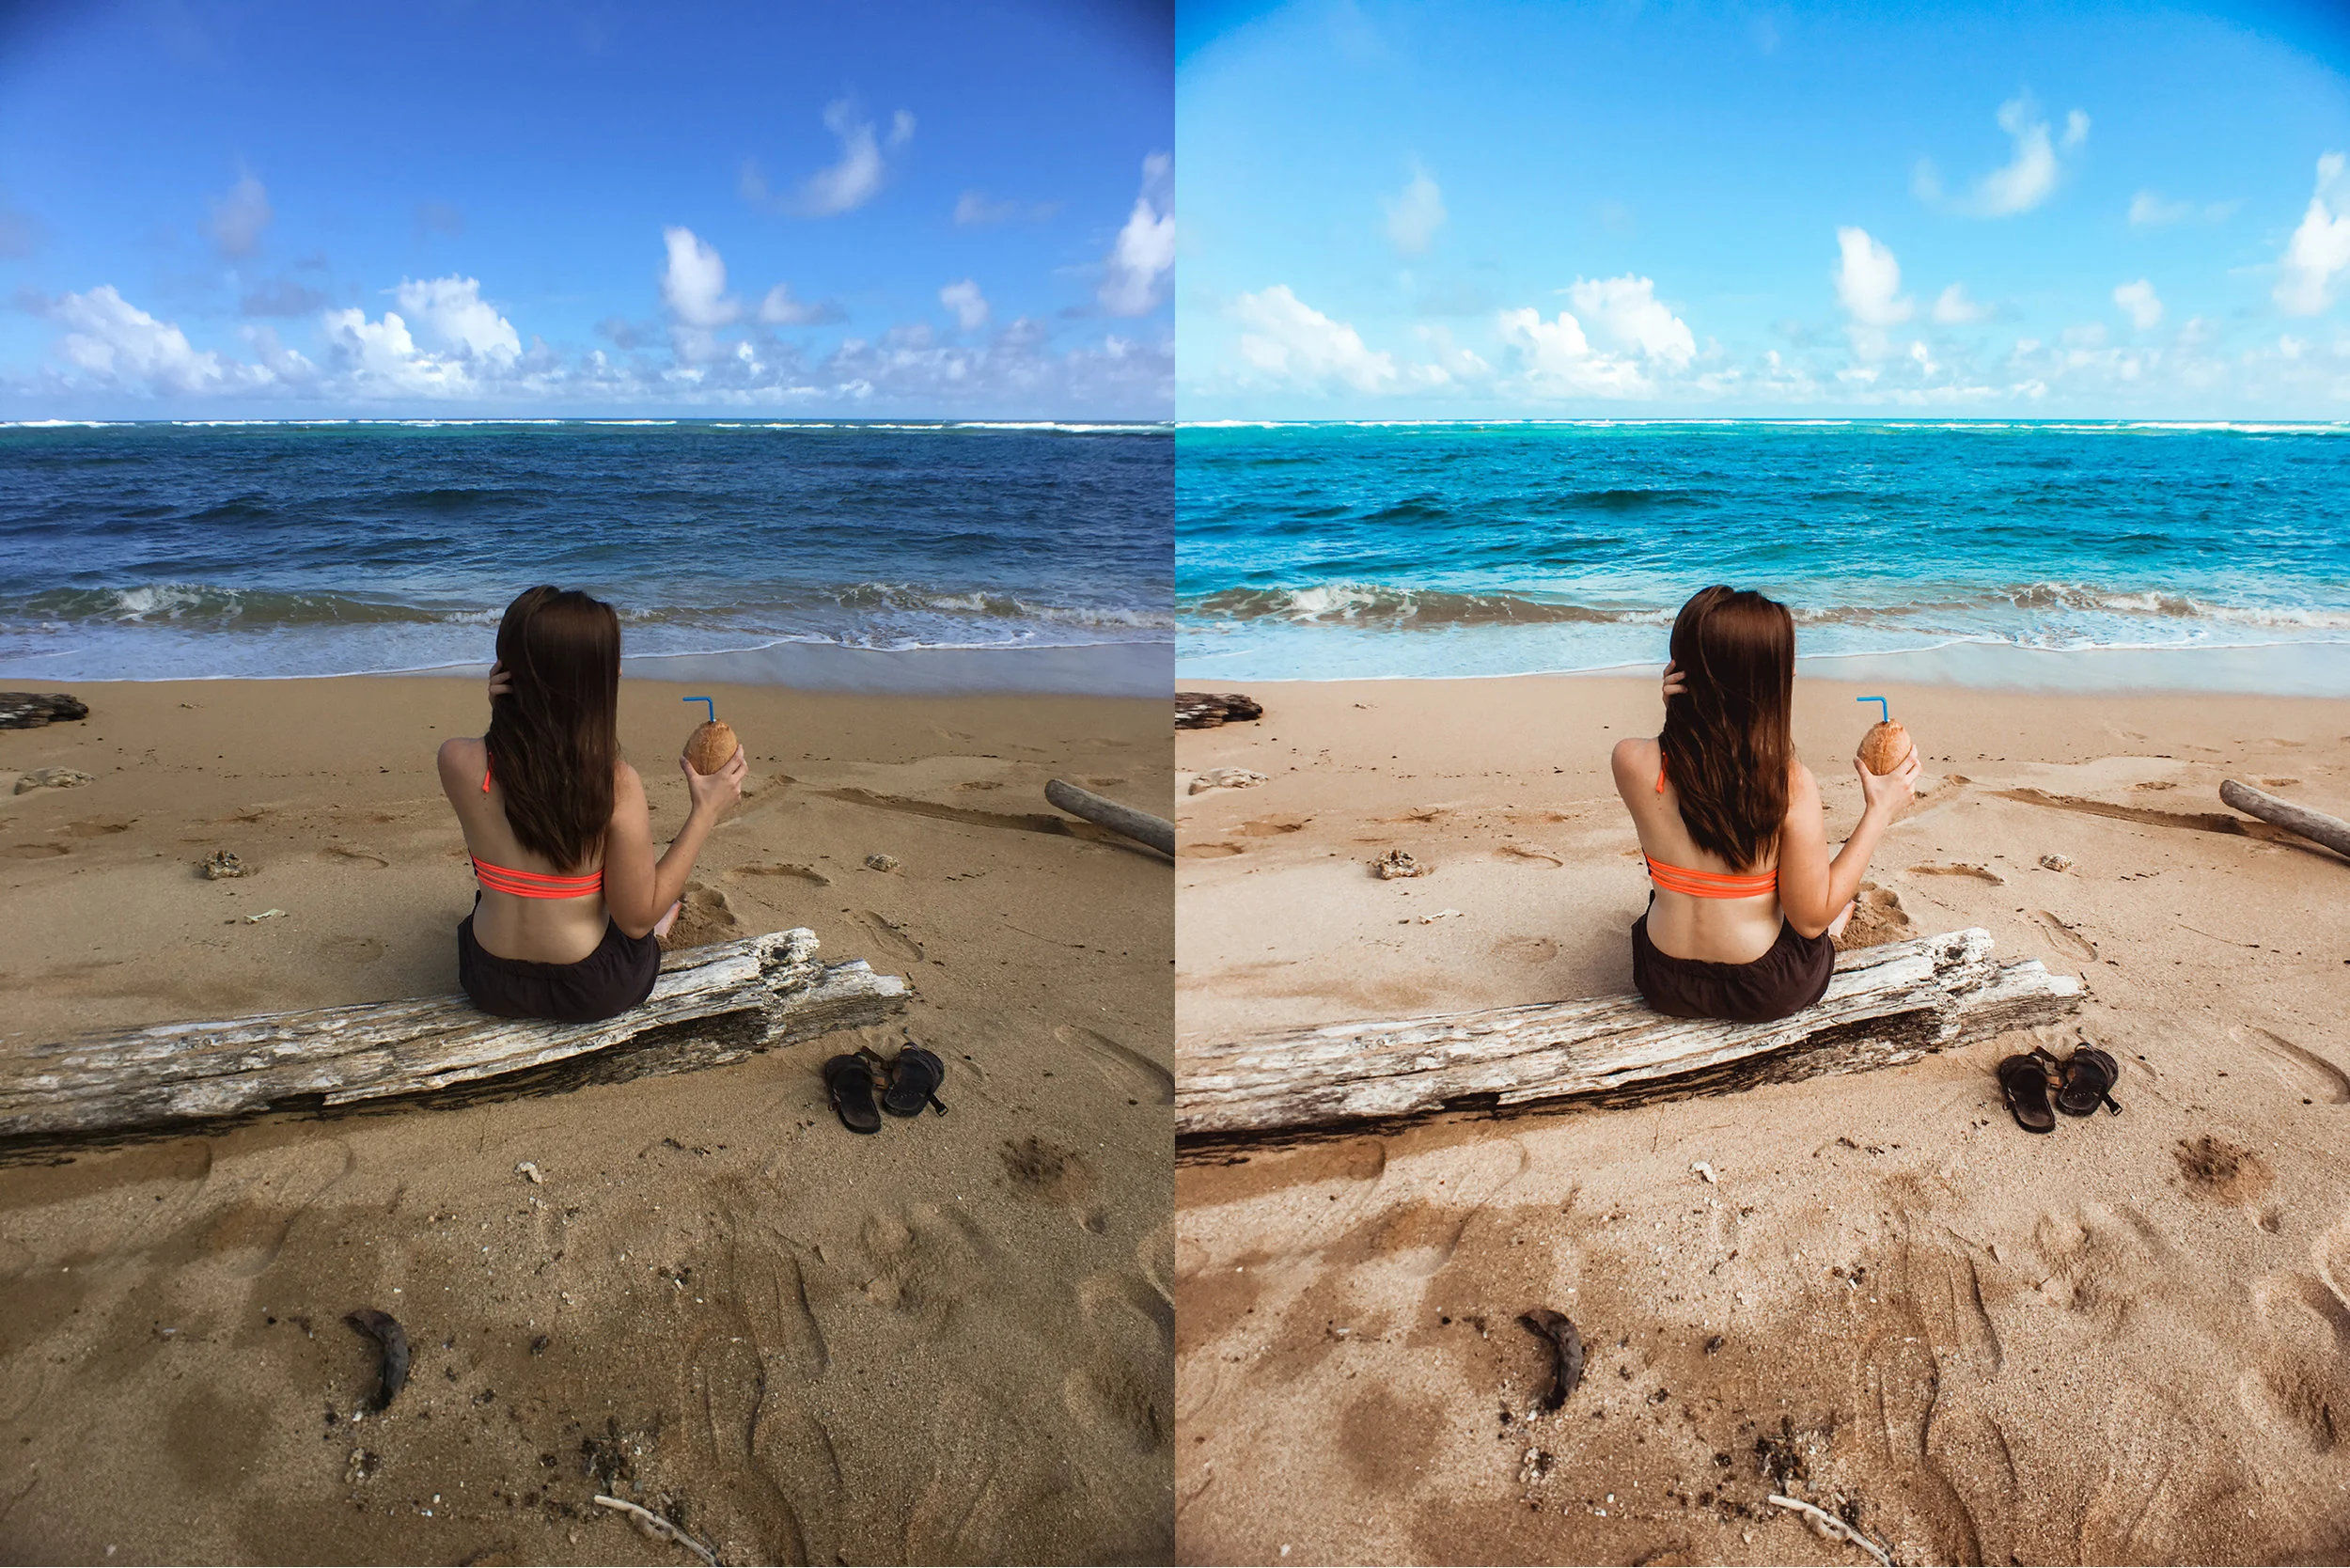
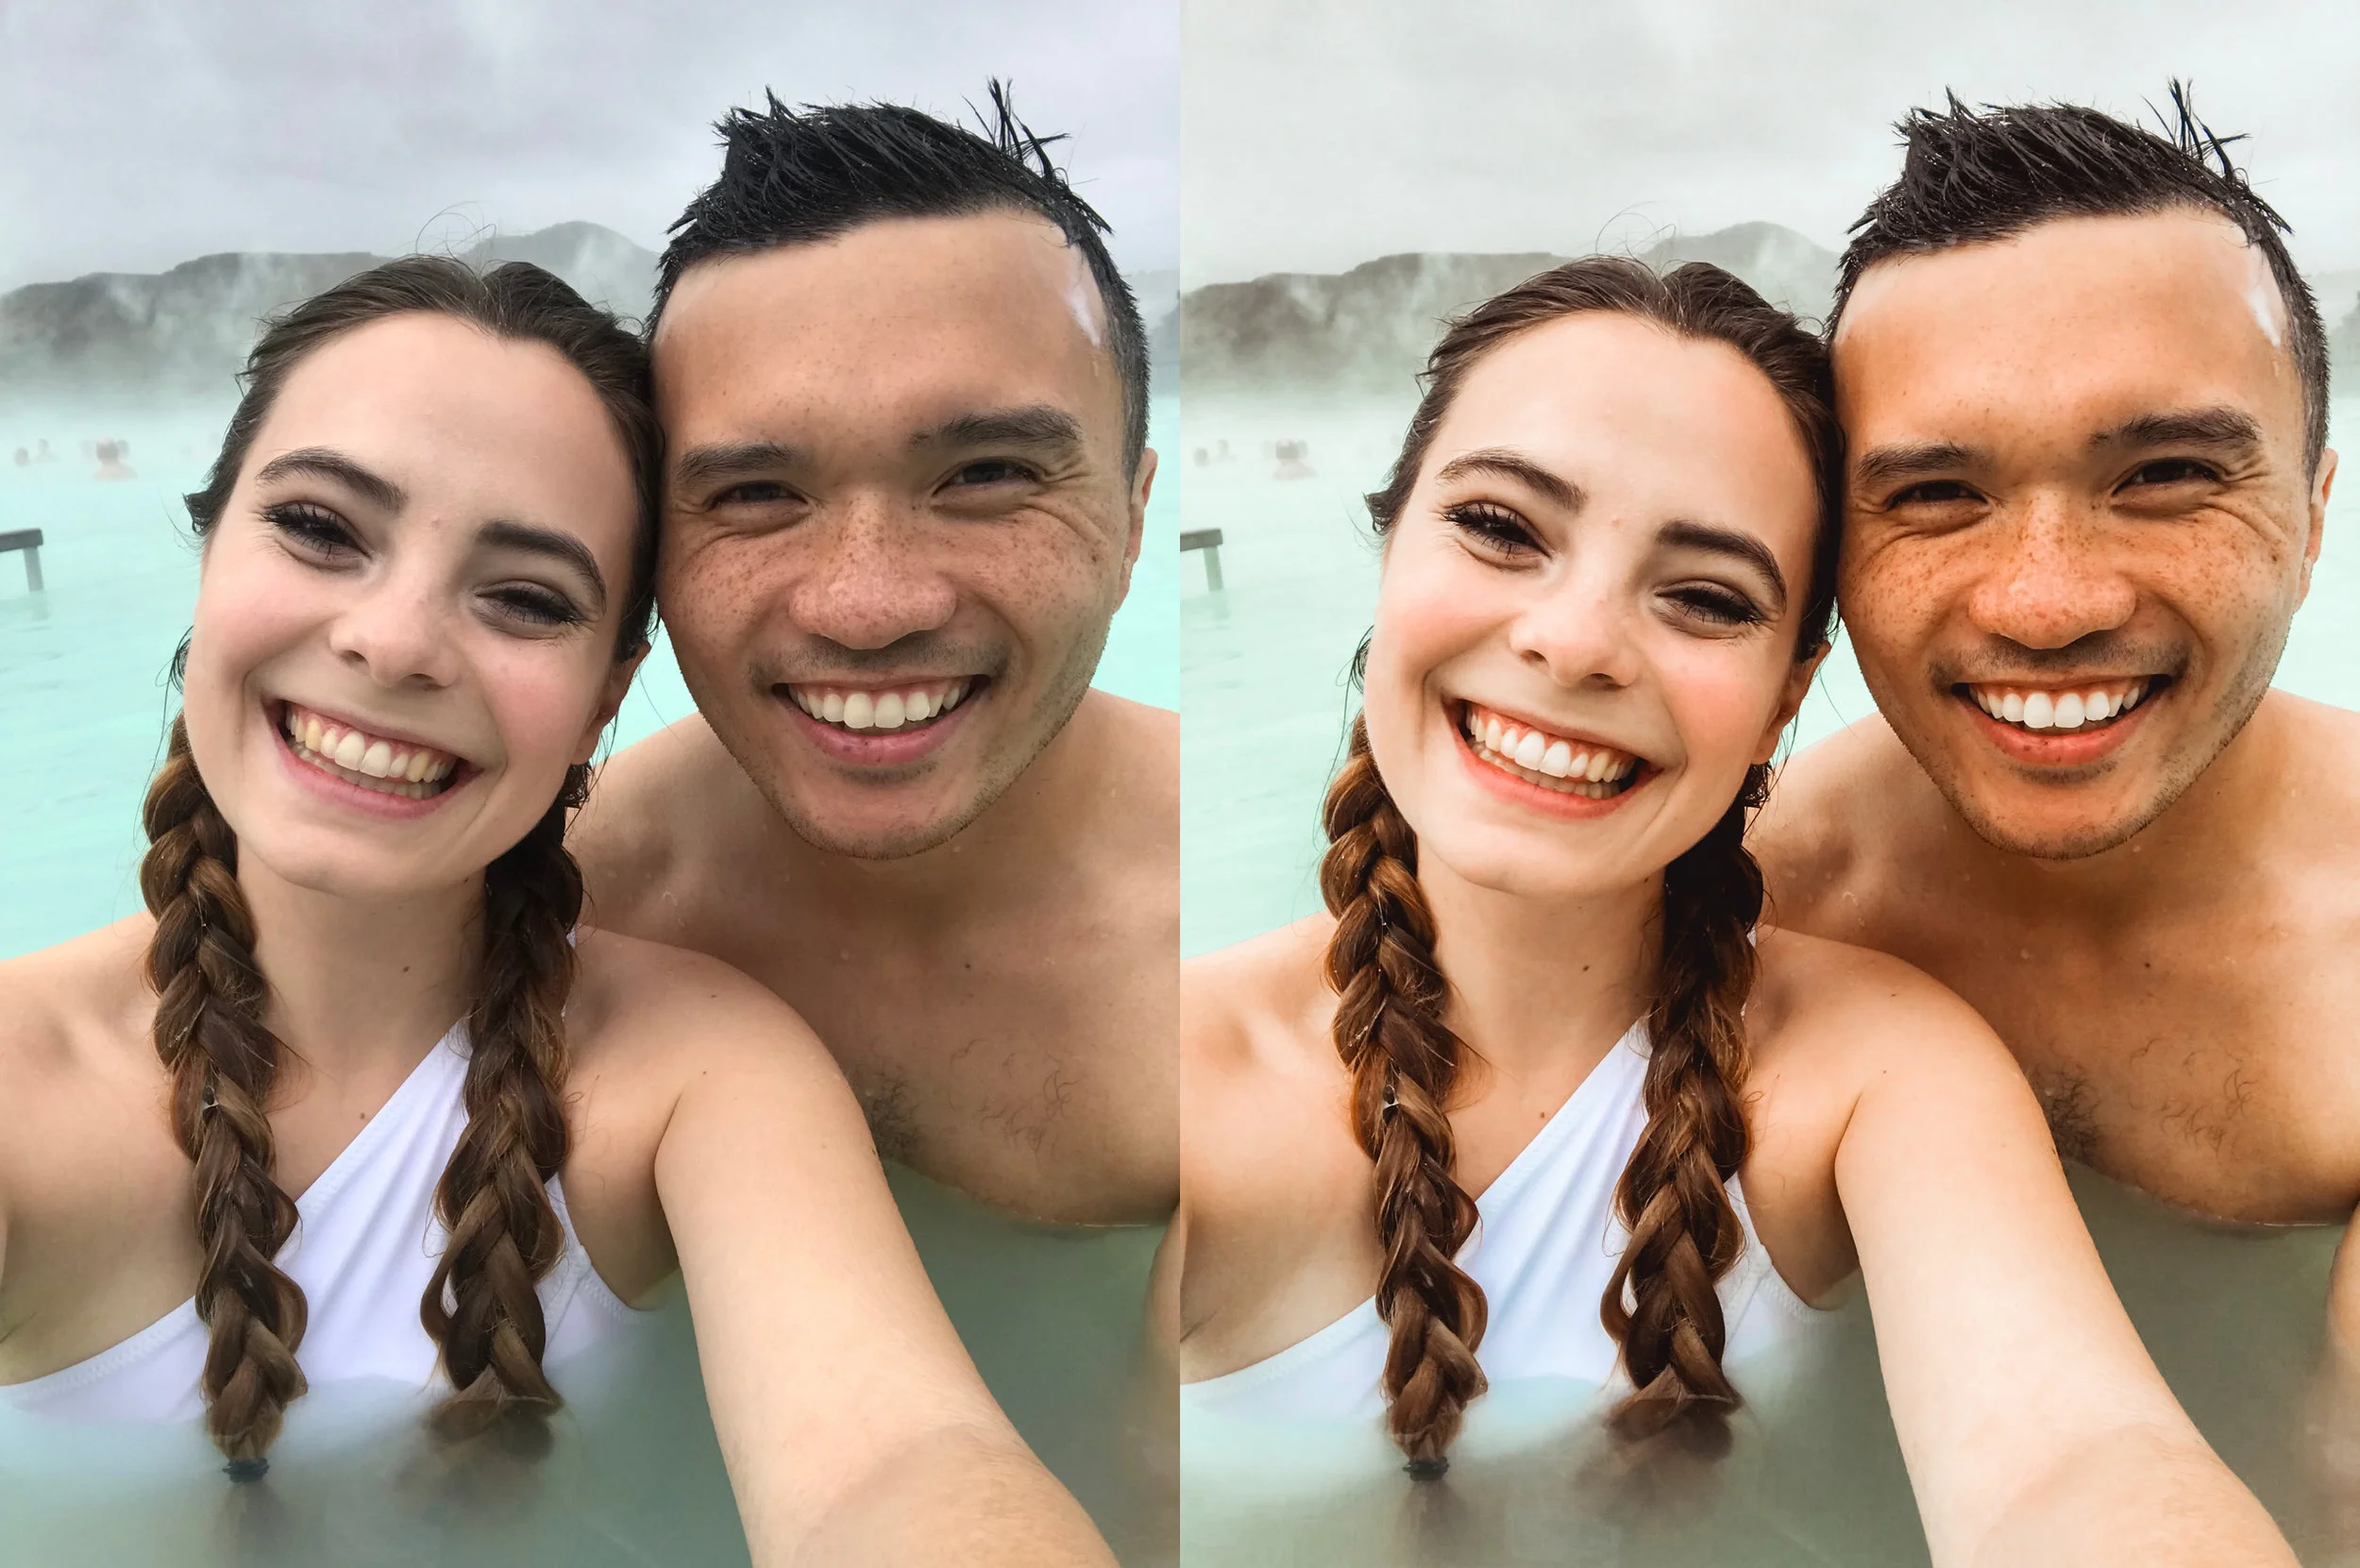
This is my most popular preset and the one I currently use on all of my Instagram photos! It works best with soft, natural light (like in the shade outside, or with “that amazing selfie light” for example). I use this preset on all different types of light, but some other types of light will require a few easy adjustments. I explain all of the adjustments I recommend in the included pdf!
Included:
Mobile Lightroom preset
Desktop Lightroom preset
1 page pdf with tips on how to use and make adjustments to this preset
FOR DESKTOP:
When you purchase this preset, you will receive an email with a link to download a .zip file. The link will expire after 24 hours, so do not purchase until you’re ready to download.
When you open the zip file, it should create a new folder called “CREABYJULIE NATURAL LIGHT PRESETS.” Open the folder and click on the file that ends with “ .lrtemplate.”
Lightroom should open automatically, but if it does not, open Lightroom. There should be a pop up saying “Would you like to install the Preset called ‘CREABYJULIE NATURAL LIGHT PRESET’?” Click “Install.”
Once you’ve installed, it should show up automatically under Presets in your Lightroom window. If it doesn’t, try restarting your computer and opening the app again.
FOR MOBILE:
The Lightroom Mobile App is not quite set up for auto presets, so there is a little bit of a process to access your preset initially, but you’ll only have to do this once!
When you purchase this preset, you will receive an email with a link to download a .zip file. The link will expire after 24 hours, so do not purchase until you’re ready to download.
When you open the zip file, it should create a new folder called “NATURAL LIGHT PRESET.” Open the folder and you should see a file that ends in “.DNG”.
The .DNG file is a photo (the one shown here) with the preset pre-applied. Add this file as a photo to your Lightroom mobile library. From there, you can create a preset by clicking the “more” button on the photo that looks like three dots in a row on the top right corner and then click “Create Preset.” Leave everything that is auto checked (profile: color, light, color, effects, detail) and give your preset a name.
Any time you want to use the preset, scroll along the bottom menu on each photo until you see “Presets” and then select the correct preset.