
No Power Tools Fluted Plastic Drawer Upcycle
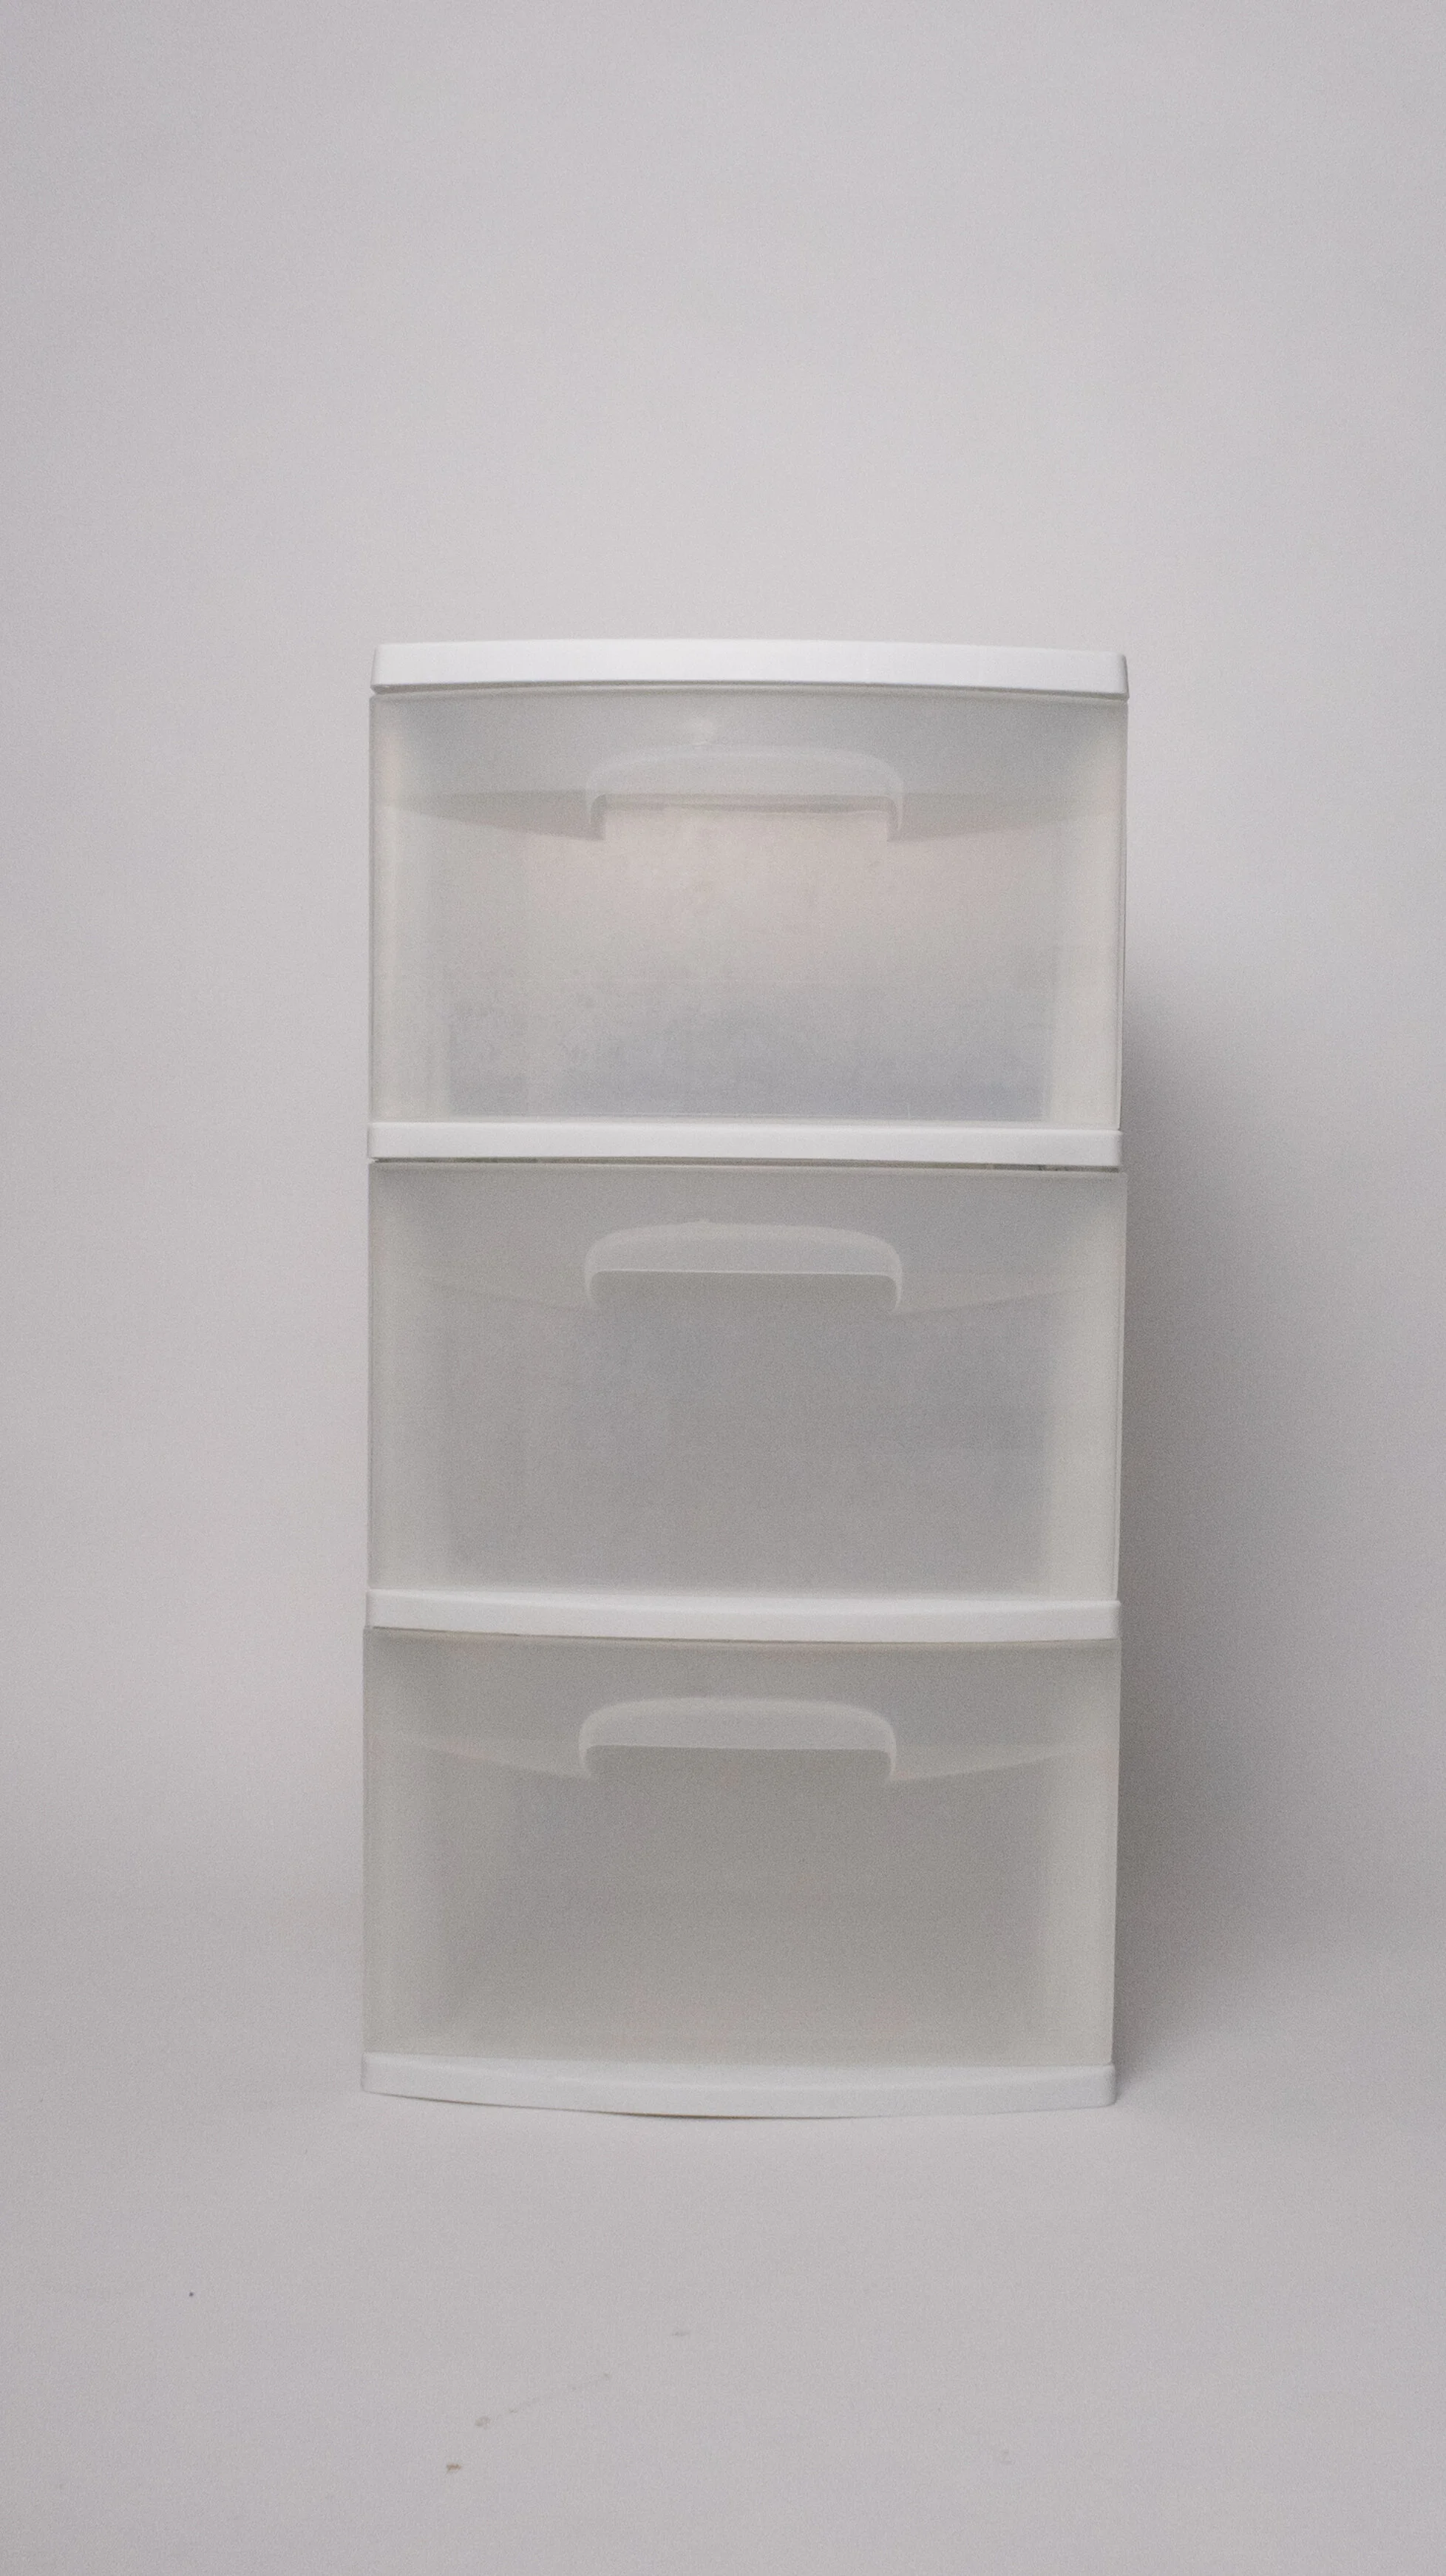
We’ve had these plastic drawers in various parts of the house since I can remember — they’re those cheapo $10 plastic drawers that are kind of annoying but also just so darn practical for the price. We wanted to find a way to add a little entryway station by our front door to keep everything in once place that we might need on our way out, especially now with COVID going on: clean masks, hand sanitizer, disinfectant wipes, and other “going outside” things like sunglasses, sunscreen, bug spray, picnic blankets, a few work out items, etc.
I didn’t want to spend any money, and we had a set of these plastic drawers that wasn’t really being used for much, so it served the purpose! But as you know, anything non-aesthetic doesn’t last very long in my house before I am all-consumed with a plan to make it pretty. So! That’s what happened.
I spent $10 on the material and $27 on a miter shear rather than going in to have the hardware store pre-cut it, so that I could order it online. I already had spray paint and glue on hand, and even though $37 is close to enough to just buy a better set of drawers, I decided it was worth it because I’m excited to use the miter shears for other projects.


MATERIALS:
Half Round Moulding: I used a little over 20 ft, or two and a half 96-inch pieces. As I’m writing this I just found this flexible half-round reed for cheap that might be worth experimenting with too! Just make sure it’s softwood if you want to use Miter Shears to cut it without power tools.
Spray Paint: We had this paint on hand, so that’s what I used. It has already chipped a little so it might not be the best choice, although I didn’t prep the surface much beforehand either so that could be why.
Glue (I used E600 glue because I had it on hand).
Miter Shears: make sure they work for the depth/height of your moulding. You can find cheaper ones than the ones I got, but they may not work for thicker moulding.
Other options: ask someone at the hardware store to pre-cut all the pieces — you may have to pay a small fee for so many cuts, but it shouldn’t cost much. You can’t get pre-cuts for online orders though, unfortunately. You can also try it with full dowels pre-cut to size, but you’ll spend quite a bit. The way I did it was the cheapest way I could find to get the look.
instructions
The instructions are probably pretty self explanatory!
Paint the drawers
Cut the moulding
Glue the moulding on, done!
But here are a few things I learned along the way in case you really like to do your research:
The miter shears worked best with a certain technique: rather than just cutting through like scissors (which required a lot of strength and tended to split the wood into uneven edges), it worked better to prep the wood with some half-cuts first on each side. So I would alternate between cutting through the front a little, then cutting through the back a little, then one big cut through the middle once a good indent/cut was already started. I got much cleaner cuts when I did it this way, and it was easier on my hands too.
If you want to add metal pulls or knobs — do your research on the best glue and glue them before painting, or go ahead and drill them in properly. The E6000 glue I used will not hold heavy metal pulls at all.
I think it could be fun to do something similar to this project but with longer pieces on the tall sides of the drawers! That was my original plan, along with adding these cute brass label holders to the front of the drawers, but I miscalculated and didn’t order enough material. I liked how it turned out this way anyways!

FINAL BEFORE AND AFTER!

This post contains affiliate links.